OVERVIEW
Web+Center versions 5.0 and 6.0 both support the ability for customers and technicians to attach a file to a case and append it as a link in the support case so both Technicians and Customers can share files. The configuration of this feature requires a few steps and by default, this feature is disabled with the out-of-box configuration. The steps below outline to how to enable and configure this feature and change a Microsoft system setting that prevents files larger than 210K from being properly downloaded. The configuration steps for this feature are also located in the end ofWeb+Center 6.0 User Guide system configuration chapter.
Steps to Configuring Web+Center File Attachment feature
Configuration steps on the Web Server
- On the Web server, first create a physical file directory on the web server where you plan to have the files downloaded to. The downloaded files are stored in the physical file structure and not in the database but links are to the files are appended to the case histories for sharing of the files. We recommend the path of“c:\wcfiledownloads” but it can be any directory. This directory should be added as part of your daily/weekly backup for your help desk system.
- Set the file security permissions for that file directory to EVERYONE full control and no other users.
- Create an IIS virtual directory that points to that file directory. We recommend the virtual directory name of“wcfiledownloads” but it can be named to any name which will be used later.
- Important – Set the application permission settings for this virtual directory to READ only. Do not allow script or execute permissions. This allows files to downloaded and read/shared (.exe, dll, docs, PDF, log, etc) without the downloaded file running on the server.
- NOTE: A reboot of the entire web server maybe required to properly set all of the Access Control Lists (ACL) for the file security permission directories.
Configuration Steps inside of the Web+Center Application
- Log into the Tech+Center application with Configurator level permissions.
- Click on the Administration button in the button panel.
- Click on System Configuration Menu link.
- Click on the Other Configuration link.

- Under the File Upload Options check which application (Tech+Center or Customer+Center) to enable file upload
- Enter a physical file path on the webserver that you created previously (Example: c:\wcfiledownloads )
- Enter the File Upload virtual directory you defined above (Example: wcfiledownloads)
- Enable file renaming based on case number. (Recommended) This will rename the file like Error.Log to a file name like C1023-Error.log when associated with Case number 1023. This prevent similar named files from overwriting each other.
- Select the maximum File size in bytes or enter 0 to allow any file size.
- Press the Submit Button.
Changes to Microsoft System settings to allow files greater than 210K to be downloaded
- To allow files greater than 210K in size to be downloaded, a Microsoft system related setting must be modified. Follow the specific set of instructions below for either IIS 6.0 or IIS 7.0
- For IIS Web Servers Version 6.0
* Make a backup of the c:\windows\system32\inetsvr\metabase.xml
* You will probably need to stop the IIS admin service before it will let you save this file.
* Edit metabase.xml (with note pad or other text editor)l (Note: you may need to first check “Allow direct editing of Metabase file” in the IIS settings).
* Find the line “AspMaxRequestEntityAllowed” and change the value to “10485760”. (10 MBytes)
This allows IIS to create ASP objects that can be up to 10MB in size.——- - For IIS Web Servers Version 7.0
*Click on the default website, and then selecting the ASP limits /properities and then you will find the Limit Max Body entity and increase this from 200,000 to a larger value (10485760) as needed.
Using the File Attachment feature for Customer+Center and Tech+Center
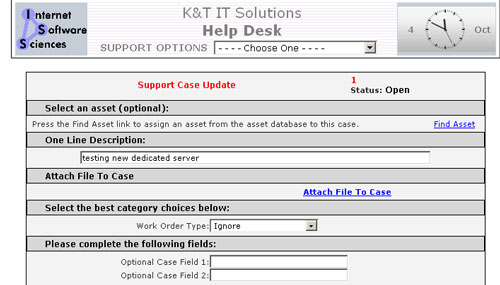
- On the Customer+Center page, there will be a link to allow customers to attach a file to the case once the ticket has been initially created and a case number exists. This initial step is required since the files are renamed based on case number.
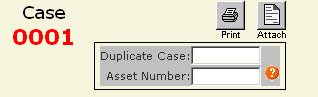
- On the Tech+Center application, a file attach icon will appear in the upper right hand corner of the case form. Click on this icon to attach a file to the case. Multiple files can be attached to the case, one file at a time with each submit.