| The Extended Time Spent Billing option of the Web+Center application allows technicians to record individual time spent entries that define technician, billing or non-billable, hourly rate, time and a small note about the work completed. Special invoicing functions under the Business+Center can create printable and email-able invoices based on these time spent entries.An increasing number of Web+Center clients are smaller independent IT support companies that service and bill several different companies or organizations and these features are designed to accomodate those requirements.
New invoice reports and print/email time spent ASP code modules are now available from the Web+Center Documentation and Version Server by clicking the Currently Released Files links for the Business+Center Files and in the Language Directory Files. The following files listed below must be upgraded as a minimum.
- Business+Center (businesscenter directory): Invoice.asp
- Language (Language Directory): PrintInvoiceTemplate.inc
- Business+Center (businesscenter directory): DoInvoiceSearch.asp
To test and evaluate the new Extended Time Spent Billing feature, follow the steps listed below.
| Step #1: Enable Extended Time Spent Billing Options |
- Log into Tech+Center as a system configuration (Click HERE to test on-line)
- Click on Administration
- Click on System Configuration Menu
- Click on System Configuration Options
- Confirm that the Extended Time Spent Option is checked.
| Step #2: Creating Time Spent Billing Entries in a support case ticket |
- Create or open a new support case in the Tech+Center application
- Scroll down to the Time Spent Billing box.
- Enter or accept Date, Tech, Billable/non-billable, hours, hourly rate and notes
- Fill in other case information (categories, status, case one-line, case history, etc)
- Submit the case form to enter this Time Spent Billing entry.
- Bring the case form back up multiple times and enter additional Time Spent entires.
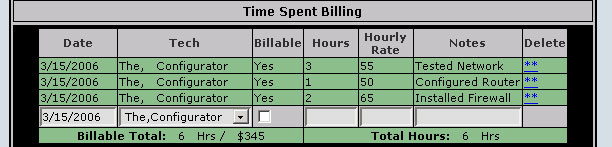
Figure 1-1 Extended Time Spent Billing form of the Tech+Center case form
| Step #3: Creating an invoice from a Case Time Spent Billing Entry |
- Launch and log into the Business+Center application by clicking on the Business+Center button in the button panel.
- Click on the Invoices button in the Business+Center
- To Create or Update or Delete Invoices on Time Spent entries, click on the link titled ” Create New Invoices from “Time Spent” Records”
- Select a date range (Last 30 days)
- Select other criteria if desired to create invoices based on individual cases, individual customers, or group by customer or company.
- Press the Submit Button to create a preview list of Time Spent Entries that you can accept for invoicing.
- To create an invoice your time spent entry, check the Checkbox under the New/Invoice column and press Submit.
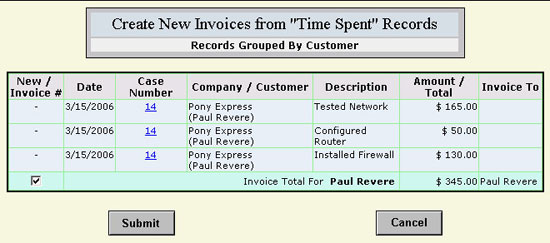
Figure 1-2 – Creating an invoice from select Time Spent Billing entries
| Step #4: Viewing and adding additional expenses to invoices |
- Click on Invoices
- Click on the Find Invoice
- Click Submit and return the most recent set of invoices
- Click on the Invoice number to view the invoice you just created
- Additional charges and information can be added to the invoice if needed and press Submit
- One can email or print the invoice by clicking on the Email or Print buttons in the upper right hand corner
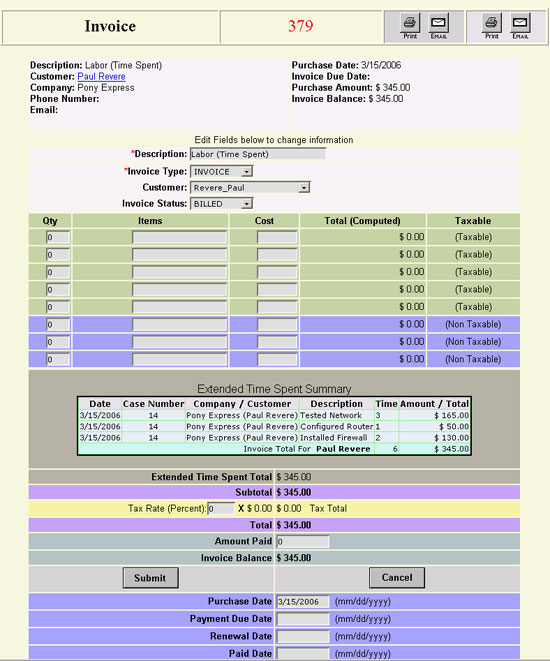
Figure 1-3 – View of invoice screen with time spent billing entires
| Step #5: Printing and Emailing Invoices to clients |
- Click on Invoices
- Click on the Find Invoice
- Click Submit and return the most recent set of invoices
- Click on the Invoice number to view the invoice you just created
- One can email or print the invoice by clicking on the Email or Print buttons in the upper right hand corner
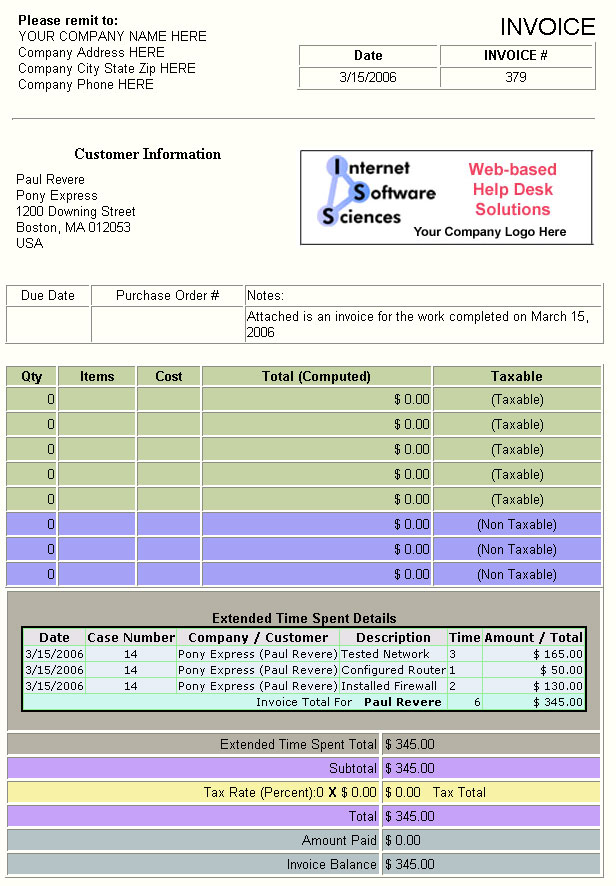
Figure 1-4 – Invoice that can be emailed or printed with Time Spent Records |